
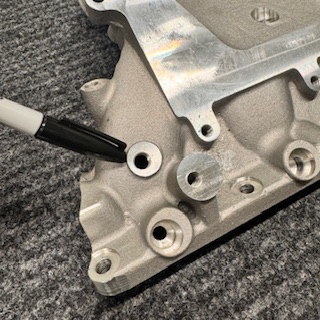
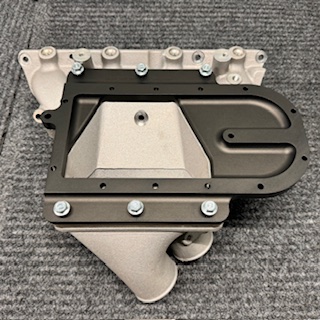
Lower Manifold Section/Plate
The lower port plate requires sealing with Hondabond. While the plate may come assembled for packaging, you must remove the bolts and seal the cover before use.
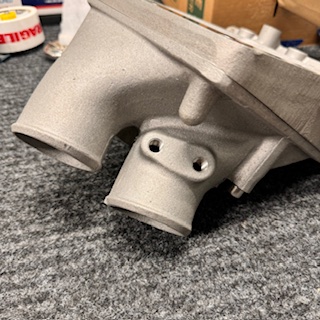
The two air flow ports are 2.5″ OD.

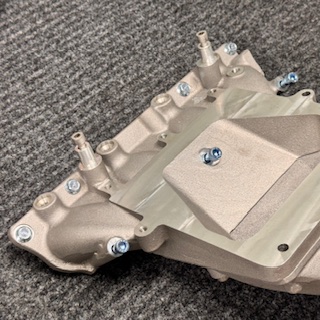
Lower/Side Section Ports
The two threaded ports are 1/8″ NPT. you may use these for MAP sensor and temperature sensor.
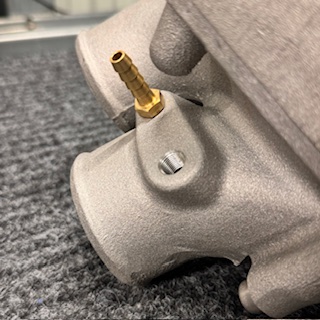
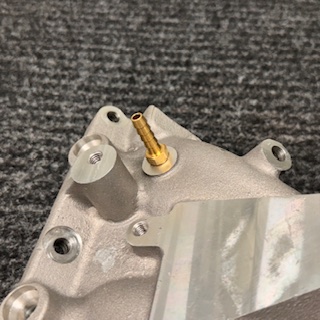
Main Manifold Ports
The main manifold assembly has one 1/8″ NPT port, which, if equipped with one, can be used as a boost/vacuum reference for the fuel pressure regulator.
Manifold Assembly Guide
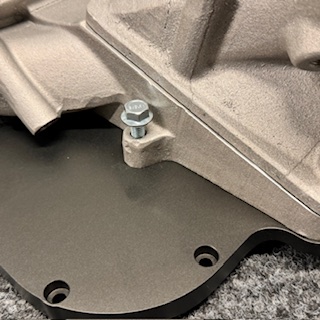
Supercharger to adapter plate
This is a reference picture to show how the plate is mounted (in real use, the blower will be attached to the plate first)
On the second photo, this bolt must be installed and the use of blue threadlocker is strongly recommended. The opposite tab bolt hole is no longer used.
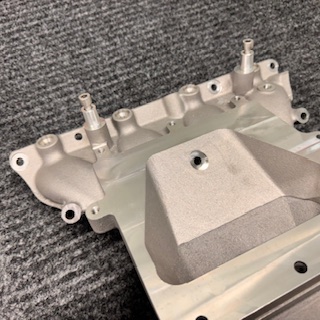
Manifold to engine
Make sure to install the lower section of the manifold first. The lower cover with the air tubes and sealed with hondabond.
Attaching supercharger to manifold
Mount the supercharger to the adapter plate. Ensure the correct bolts are used. Some models have longer bolts and shorter bolts for the thinner side of the plate. Use a blue thread locker for all bolts.
After the manifold is attached to the engine, you may install the supercharger on the manifold.
Fuel Rail
Attach your fuel rail when ready to complete your fueling system. Some injectors may have smaller O-rings, you may need a larger tighter fit o-ring in some cases.
Bypass Hose Connection
WARNING!!! DO NOT connect to the upper fitting on the supercharger bypass actuator. FAILURE to do this will result in supercharger damage.
- Connect the hose to the lower fitting on the supercharger bypass actuator.
- Connect the other hose end to the small fitting on the throttle inlet.

