
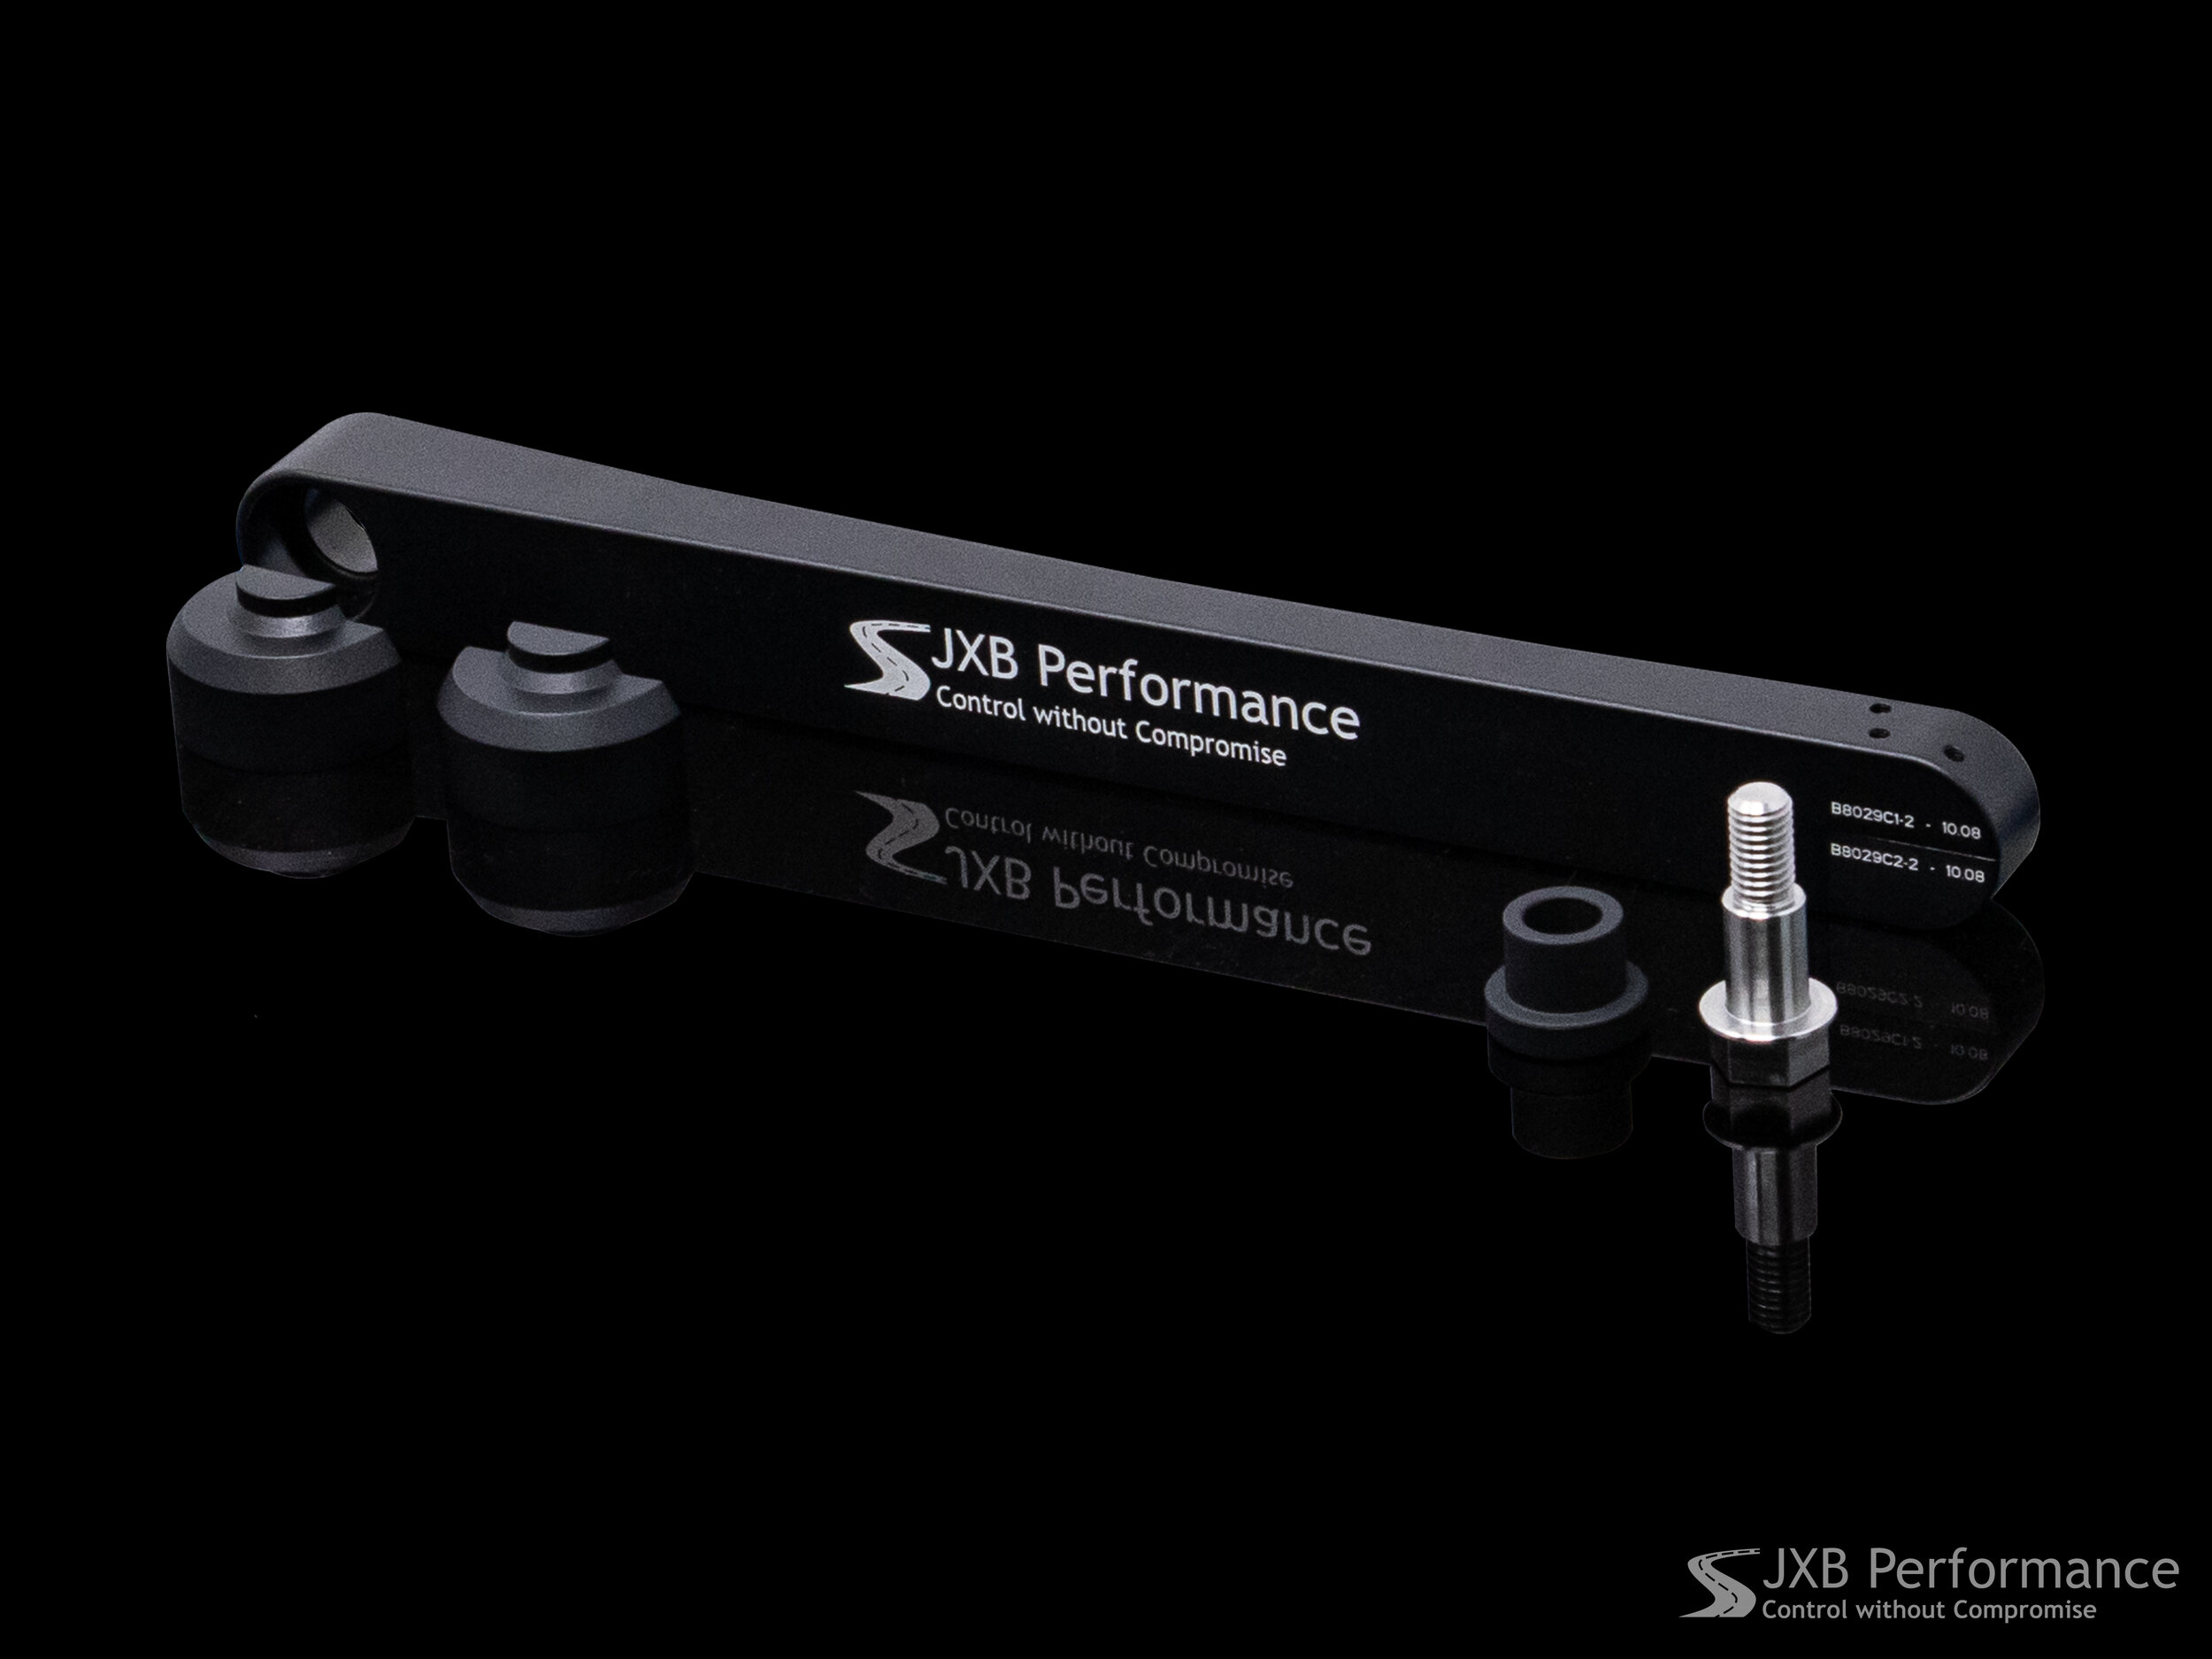

Description
Everybody knows the stock linkage sucks. It doesn’t perform well, it sucks to swap out, and it’s expensive to replace. After an in-depth look at it, we came to the conclusion that it wasn’t all bad. There are plenty of good parts in it. The rod that runs from the shift lever to the crossrod is rigid as can be. The plastic coupling that holds the socket for the lower ball joint and the ball for the upper ball joint is very well-made. It has thick reinforcement ribs and doesn’t flex at all under load.
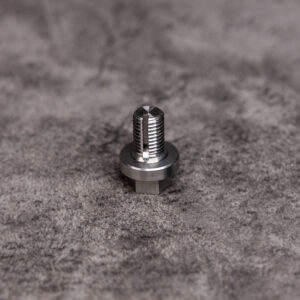
Where the wheels start to fall off is when we look at the ball joints and the crossrod. The lower ball joint in particular is housed in a flexible plastic and rubber socket that squishes and flexes under load. The plastic crossrod is flexible as can be. It flexes a great amount under load, leading to getting stuck in the reverse track more easily on the 1-2 shift, and generally adding slop to the shift pattern. The crossrod bushing is also fairly soft and can be seen flexing. We replaced that with a stiff polyurethane bushing held in place with a precision stainless shoulder bolt for a perfect no-slop no-flex interface. Though also plastic, the upper ball joint isn’t too bad, but since we’re addressing the crossrod, we decided to beef it up while we’re in there.
So instead of replacing the whole linkage, this kit transforms the stock linkage by replacing the 2 ball joint cups, the crossrod, and the crossrod bushing/bolt.
INSTALLATION
Here’s the kicker. By only focusing on these parts, we don’t have to pull the linkage out of the car. In fact, you don’t have to unhook it from the shift lever, and the entire thing is done very easily from underneath the car on jack stands. You don’t have to drop your trans. You don’t have to touch your exhaust. You don’t have to touch your x-brace. You don’t have to do anything from the cabin. You don’t even have to readjust your shifter. It’s seriously easy.
-
Raise car.
-
Remove transmission splash shield.
-
Remove M10 triple square slave cylinder bolt and pull out of transmission (not required but helps make space for your hands). Note, this does not affect the hydraulic system so no bleeding is required afterwards.
-
Place jack under tailshaft of transmission to support.
-
Undo 4 M12 triple square bolts holding trans support bracket to body.
-
Lower jack to allow rear end of transmission to sag until you have enough room to get your hands above the transmission.
-
Undo 13mm nut and take linkage off splined shift selector shaft on driver side of transmission.
-
Undo 13mm bolt that holds crossrod to transmission. At this point the linkage can be pulled down on the side of the transmission and the retrofit activities will be done around the level of the x-brace.
-
Remove 2 T20 screws holding dust boot on bottom of linkage.
-
Pull lower ball joint and socket out of linkage.
-
Place 2 JXB lower ball joint cups around the ball and push back into linkage.
-
Replace 2 T20 dust boot screws.
-
Use pick or screwdriver to retract upper ball joint socket.
-
Pull upper ball joint from crossrod and discard crossrod and upper socket.
-
Screw JXB crossrod around upper ball.
-
Reattach JXB crossrod to transmission using new shoulder bolt and bushing.
-
Reattach linkage to splined selector shaft and replace nut.
-
Put slave cylinder back into trans and secure bolt.
-
Jack rear end of trans back up and resecure bracket with 4 bolts.
-
Replace transmission splash shield and lower car.
This is a 2-hr job for your average home mechanic.
Reviews
There are no reviews yet